Zebra medical newsletter July 2026

header-banner

Dear Zebra Medical community,

anje-profile-circleFinding the right vein is always a non-negotiable. But sometimes the best vein (for access) is not in the best place (for exit site). And that exit site becomes a crucial decision. Catheter integrity (i.e. ability to remain in situ) and patient satisfaction are front of mind when our clinicians make this decision. And, increasingly, they are becoming very creative in finding that perfect exit site.

In the words of Matt Ostroff “… All patients are unique from their mental states to their skin integrity”. Sometimes the best vein sits under fragile skin, close to a joint, near a wound, or in an area where dressings repeatedly fail and catheters are easily dislodged.

This is where “the Art of Tunnelling” comes into its own. Rather than accepting where the catheter potentially could exit, one can “design” the exit site – moving it to healthier, more stable skin while still accessing the optimal vein at the best access site.

Right Insertion Site. Right Catheter. Right Exit Site. Tunnelling at the bedside.

Kind regards,

Access Sites versus Exit Sites

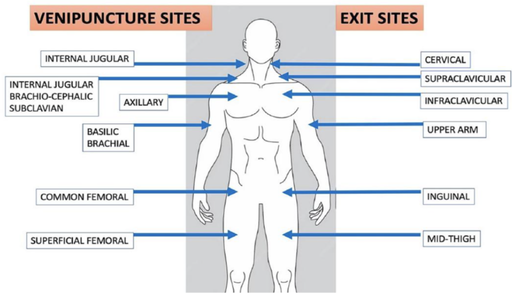
The RAVESTO (Rapid Assessment of Vascular Exit Site and Tunnelling Options) protocol recognises that the best vein to cannulate is not always associated with the best exit site.

This diagram provides a practical guide for selecting the most appropriate tunnelling pathway.

tunnelling1

Courtesy Stefano Elli (WOCOVA 2026)

Tunnelling Techniques

Pseudo Tunnelling

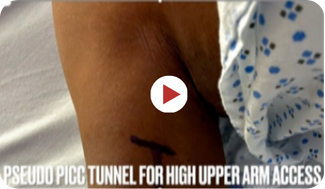
Pseudo Tunnelling is the least invasive technique, a single puncture, allowing the exit site of a catheter to be within Dawson’s Green Zone.

Pseudo Tunnelling is performed using the full length of the insertion needle under ultrasound guidance to provide separation between the insertion site and the puncture of the vein. This technique is applied to straight trajectories such as a PICC or midline in the arm, or a femoral or mid-thigh femoral approach in the lower extremity.

Introducer Sheath Tunnelling

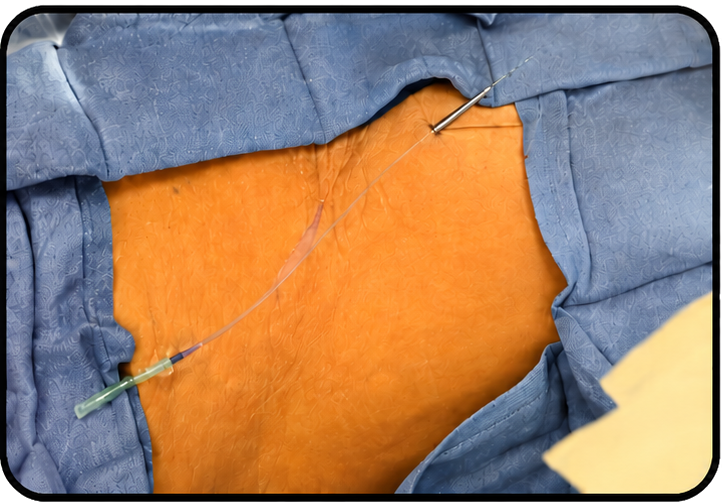
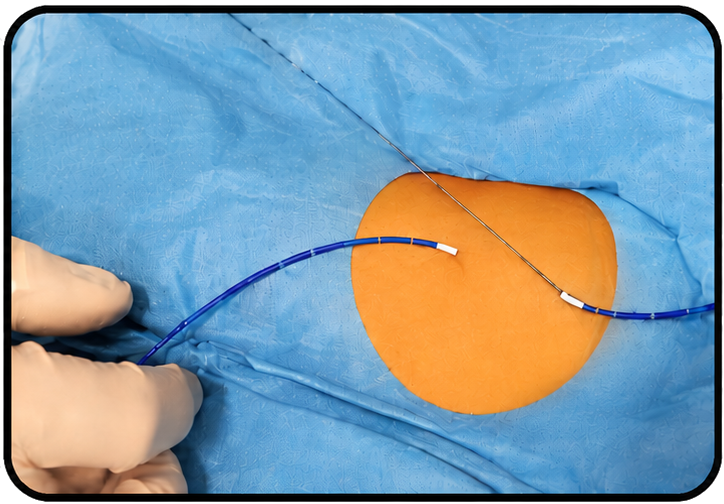
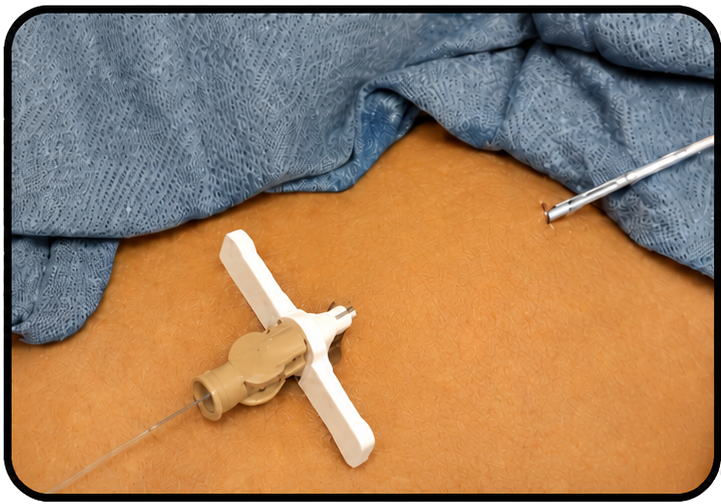
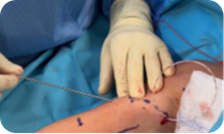
Traditional tunnelling techniques (being the metallic tunneller, PIV and sheath tunnelling techniques) involve a double puncture. This can be accomplished using:

  • A metallic tunnelling device where one pulls the catheter through to the insertion site (antegrade) or pulls the catheter from the insertion site (retrograde).
  • A large bore long peripheral IV cannula, and cutting off the hub to pass the catheter through.
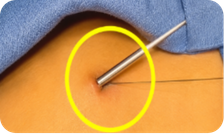
  • A sheath tunnelling technique where one does a modified Seldinger technique subcutaneously to the initial insertion site and brings the catheter through the sheath.

METALLIC TUNNELER
(RETRO/ANTEGRADE

 PIV TUNNEL

INTRODUCER SHEATH
TUNNELLING

Assessment Protocols

Modern ultrasound assessment protocols, including #RaPeVA, #RaCeVA and #RaFeVA, help identify the optimal vein for access, while Dawson’s Zone Insertion Method (ZIM) guides selection of the safest and most practical exit site. When these two locations do not align, subcutaneous tunnelling can potentially bridge the gap, allowing clinicians to relocate the catheter exit to a more favourable, safer position.

Why is this important? The exit site has a significant impact on catheter outcomes. By tunnelling to a cleaner, more stable location, clinicians can reduce bacterial contamination, minimise accidental dislodgement, improve dressing adherence, enhance patient comfort, and make ongoing catheter care easier.

 In our recent PICC-Port webinar, Dr Hugo Minnaar demonstrated a practical subcutaneous tunnelling technique, sharing procedural tips and best practices to help clinicians apply tunnelling safely and effectively.

Tunnelling Do’s and Don’ts

Successful tunnelling begins with careful planning.

Do select the exit site before puncturing the vein, aiming for a clean, stable location that is easy to dress and monitor. Use tunnelling to relocate the catheter to the optimal exit site – such as Dawson’s Green Zone – when the best vein and the best exit site do not naturally align.

Just as importantly, don’t tunnel without a clear indication. Avoid exit sites in areas of high bacterial colonisation, skin folds, or excessive movement when a safer alternative is available. Don’t create unnecessary tunnel length or sharp bends that may lead to catheter kinking or malfunction.

Per Matt Ostroff: Avoid creating a skin bridge – the most critical step of the two-puncture tunnel is having the tunnelling device exit the same puncture site as the guide wire to prevent a skin bridge. In some cases this requires a minor blunt dissection of the insertion site.

Per Matt Ostroff: Avoid kinking the catheter – create a gentle curve, even if it means tunnelling in small sections, one section at a time, to achieve the curve.

What the experts at WoCoVA 2026 say

One of the strongest messages from Matt Ostroff’s presentation was that “when the ideal exit site does not match the ideal insertion site, subcutaneous tunnelling can be employed.” Rather than seeing tunnelling as simply a way to create distance from the venipuncture site, he describes it as a strategy for achieving the ideal exit site – one that improves catheter stability, securement, patient comfort, and reduces accidental dislodgement.

Stefano Elli challenged one of the longest-held assumptions in vascular access: “The venipuncture site is not the same as the exit site.” For femoral inserted central catheters (FICCs), the goal is a mid-thigh exit site – a cleaner, easier-to-manage location with a lower risk of infection than the inguinal region. When the common femoral vein is used, subcutaneous tunnelling allows the exit site to be moved away from the groin.

Nowadays, we need to move past the old idea that the exit site must always depend on the cannulated vein.

References: